One of my clients had a terrible experience with their website hosting on DreamHost. The WordPress website got hacked. I wanted to call DreamHost customer service because no one could view the site or even access the WordPress login dashboard or editor. In order to get a call with a customer service representative, a customer has to pay. This is insane! The other option I had was to un-hack the website myself, which would probably take my years since this isn’t my specialty. The final option was to hire one of DreamHost’s website experts at $199 to repair the website. I found multiple discussions on Reddit where other users had experienced the same issue on DreamHost. I have built and managed multiple websites on GoDaddy servers and never had a security or hack issue.
Follow along on my journey as I migrate my client’s website host from DreamHost to GoDaddy:
BEFORE MIGRATION CHECKLIST
- Backup your website and database (image, content, urls, themes etc.)
- In DreamHost, go to Manage Account and find the “Create a Backup” button. Click on Create a Backup to initiate the backup. This DreamHost article has detailed steps and screenshots for this part.
- Check the DremaHost notifications and click on Website Backup confirmation. This will take you to a page where you will manually download each file.
- Save this files somewhere on your desktop or GoogleDrive.
- Record (copy and paste) your DNS records from DreamHost
- Install the Worker plugin in your existing Dreamhost WordPress website (this will provide a connection key you will need during migration)
- Create an account with the new host (GoDaddy in this case)
- Purchase the hosting plan that you need. GoDaddy plans vary based on website size. For small and static website the WordPress Basic should be sufficient.
- Do not cancel your DreamHost hosting yet. We need to make sure we migrate successfully before shutting down any service or plugin.
- Transfer your domain following the few steps in this DreamHost domain transfer article.
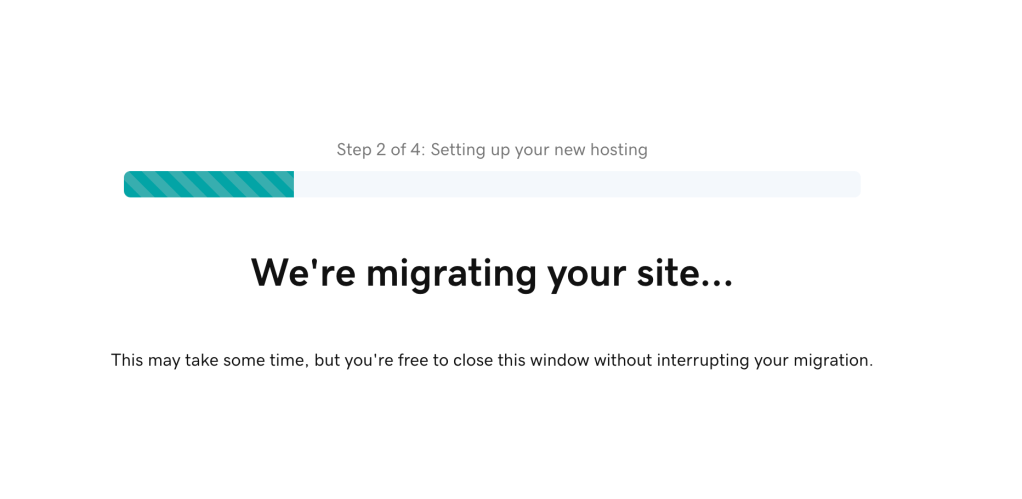
Ready to transfer your website hosting from DreamHost to GoDaddy?
DURING MIGRATION
- Go into your GoDaddy account and start an online chat. Type and send something like “Migrate website from DreamHost.”
- Chat will ask your for domain, domain key, and WordPress connection key from your WordPress WorkerPlugin.
- If you’re lost at any point, type your question into the chat and they will help you.
- The chat agent will be able to initiate the migration. For a small website (12 pages) the migration will take 10 minutes or less.
- After the migration is complete, click on GoDaddy’s “View Website.”
- Domain transfer will take 5 – 7 days as well.

AFTER MIGRATION
- GoDaddy will create a copy of your website as a staging site version. It may take up to 72 hours for the front-end to fully populate.
- Manually check and compare your new GoDaddy staging WordPress media, posts, pages, plugins, theme etc. with your old Dreamhost WordPress account to make sure everything looks aligned.
- Check back in 2-3 days.
